What is Taxidermy & how is it done?
Taxidermy - a (very) brief history
Although the modern form of taxidermy has started in England in the mid-19th Century, its roots stretch back thousands of years. Ancient civilisations practised forms of preservation through mummification and ritual preparation, demonstrating humanity’s early desire to honour, study, or symbolically retain the animal body.
One of the earliest recorded European accounts of taxidermy tells of a Dutch nobleman in the 17th century who kept a vast aviary of exotic birds, which was the pride of the city.
When a heating fault suffocated the entire collection, he sought the advice of the best chemists in Amsterdam to prevent their decay. The birds were skinned and treated with preserving substances and carefully wired to represent life. Though rudimentary, this moment marked an important shift. Preservation was no longer accidental, but intentional and restorative.
By the late 18th and early 19th centuries, taxidermy began to flourish in England, where it developed into a recognised craft. It evolved into the practice we understand today: the careful preservation of a deceased animal’s skin, mounted onto a sculpted form in a way that reflects its living posture and character.
The word taxidermy itself derives from the Greek words taxis, meaning “arrangement,” and derma, meaning “skin.” Quite literally, it translates to “the arrangement of skin” — a definition that captures both the technical precision and the artistic sensitivity the craft requires.

A fair warning
The following article displays images of the taxidermy process, which includes photography of a dead bird which some people may find distressing.
Step 1
Preparing for incision
Before practical work is carried out, important observations and measurements are taken of the carcass. Then, feathers are carefully parted along the breastbone before making the first incision with a fresh scalpel blade.
Step 2
skinning
Once the incision has been made, the skin is carefully peeled away and separated from the carcass. Leg and wing bones are retained by severing at the appropriate joint. The skull is also thoroughly cleaned and retained.
Step 3
fleshing & cleaning
Once the skin is separated from the main body, all fat, muscle, membrane and soft tissue is carefully removed.
Step 4
measurements
Arguably the most important stage; measurements of the carcass are taken, paying special attention to the eyes and facial features. An accurate form is crucial to achieve a realistic taxidermy mount.
Step 5
washing
The skin is washed in a series of baths. First off, a degreaser is used to dissolve any remaining grease and fatty residue. Then, specialist taxidermy solution is used to help clean the skin further, preserve it for longevity and make it repellent against insects. Finally, a thorough rinse in clean water to get rid of any bubbles.
Step 6
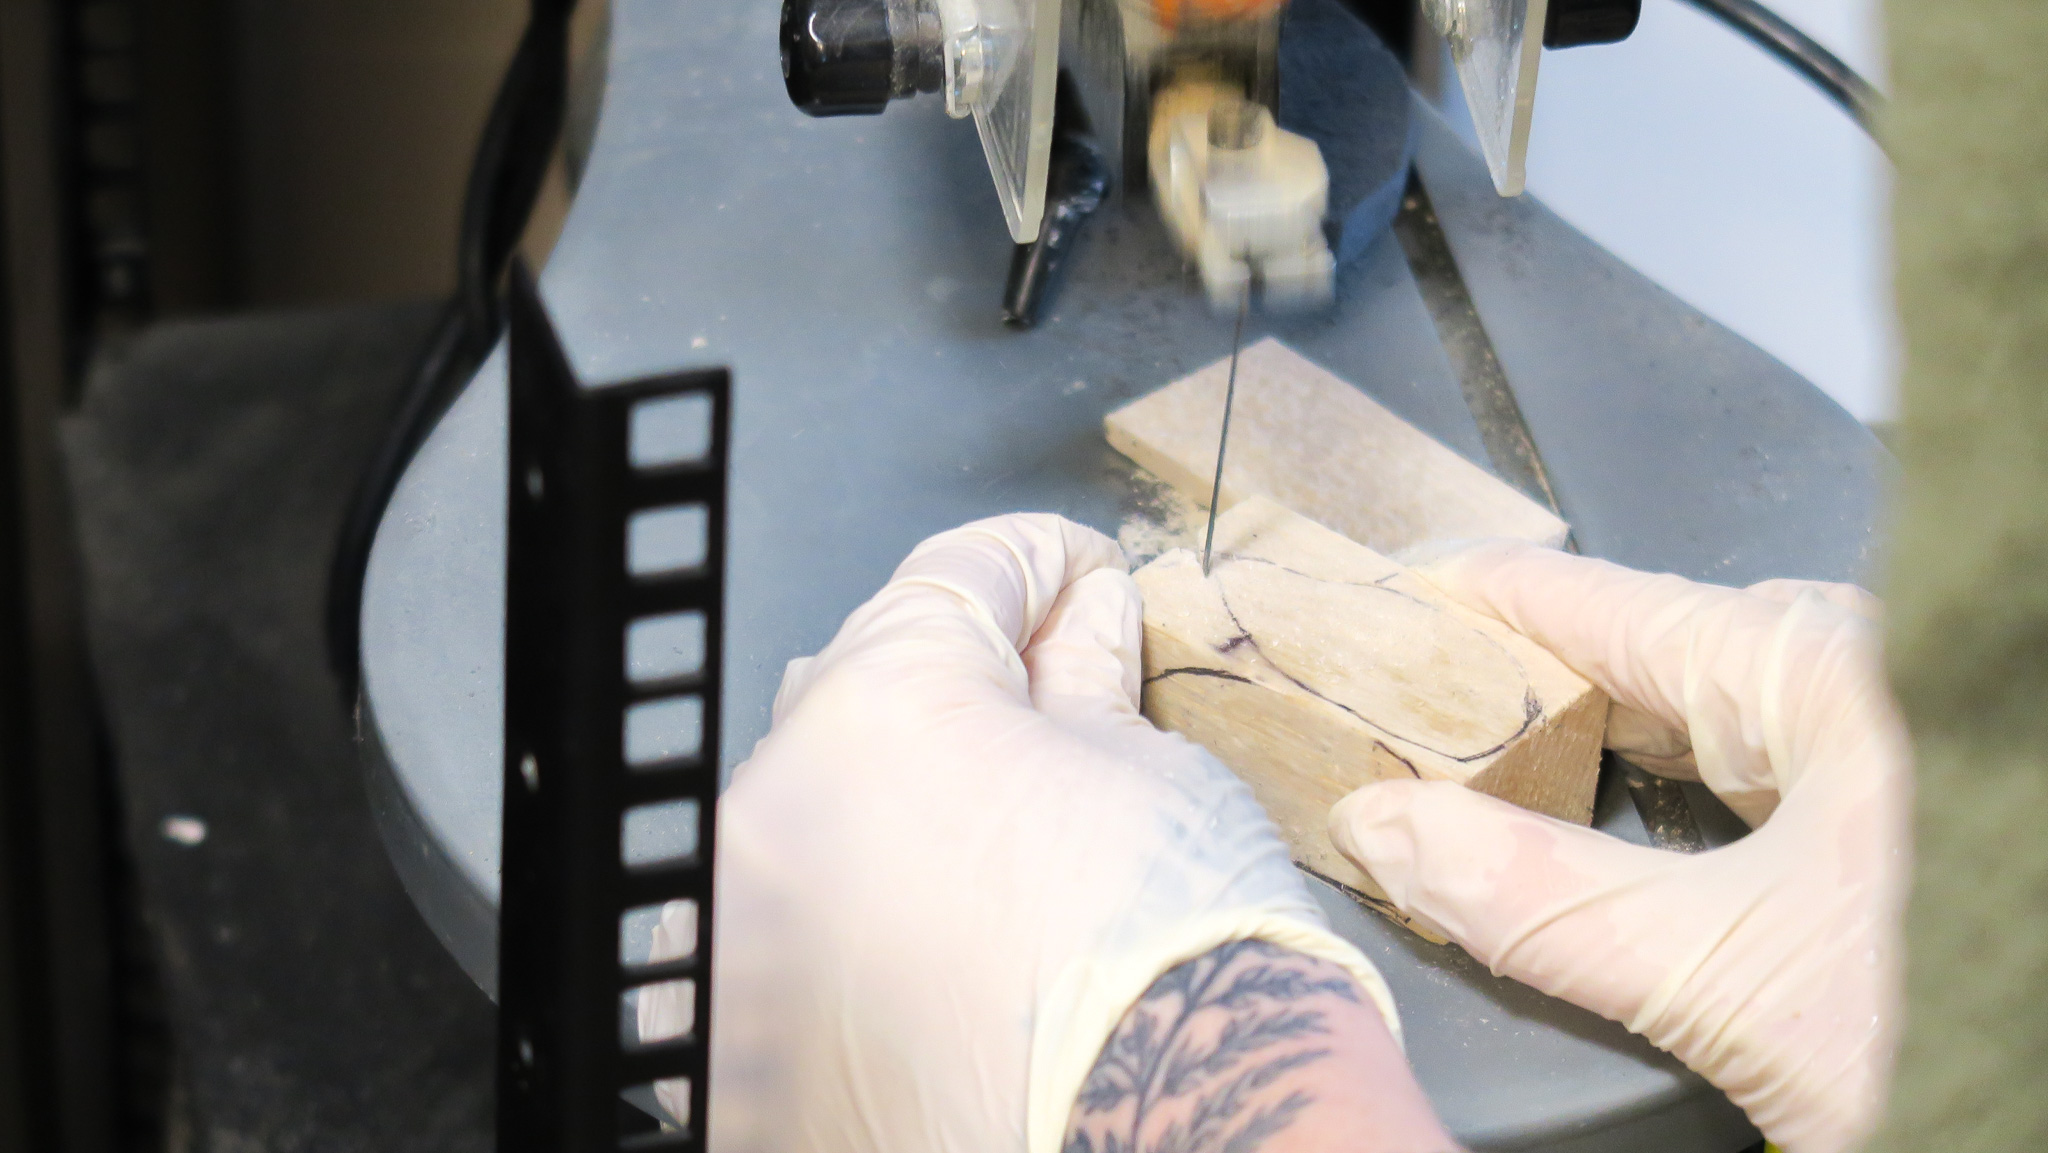
Making the form
Using the carcass in front of me as reference, the replica form of the carcass is carved from balsa wood as accurately as possible. A neck is also similarly constructed from cotton wadding, thread and wire.
Step 7
Fine Tuning
The balsa wood replica of the body is sanded down to the exact measurements and the wing and leg bone attachment points are marked on to it. The artificial neck is also attached to the mannequin at this stage.
Step 8
Blow Drying
Artificial eyes are placed back in to the eye sockets with clay, and wire is secured to the remaining leg and wing bones before being anchored in to the wooden form. The skin is then carefully mounted on to it and the original incision is sewn up with thread. The mounted skin is then blow dried.
Step 9
Feathering
Once the specimen is blow-dried, the meticulous phase of feathering begins. This involves teasing all feather groups and skin back in to it’s original alignment, using a photo of the species I’m working with in front of me for reference. (A bit like an avian jigsaw puzzle!)