I recently mounted a beautiful little white Rhea chick and thought that the marble base that I had in stock would compliment him perfectly, but there was a big chunk missing from it!
I’m always sourcing and acquiring antique ‘bits and bobs’ for my taxidermy, as I adore intricate ‘one off’ items. I just love the air of richness that they bring to my taxidermy mounts.
Beauty is in the eye of the beholder, so they say, but I strive to make my artwork look as beautiful as possible and I find it such a shame that in today’s world, we seem to have lost the craftsmanship associated with our homeware and surrounding objects, generally speaking of course.
I do find beauty in minimalism and IKEA culture too, don’t get me wrong, but I am rather partial to old fashioned, intricately carved wooden finials, bannisters, beds and bureaus! To me, it portrays the love, time and effort from the person that made it and is encased within that object for as long as it lasts. There is something very endearing about that.
So this is why I am always on the scout for embellished objects from times gone by. Although they seem to last a heck of a lot longer than our homeware of today and have stood the test of time, some objects have their fair share of wear and tear!
In this blog, I will give you a brief overview of how I made the repair on this marble base, I am so sorry I didn’t take many step by step images as I wasn’t intending to make a blog about it, but I will tell you how!
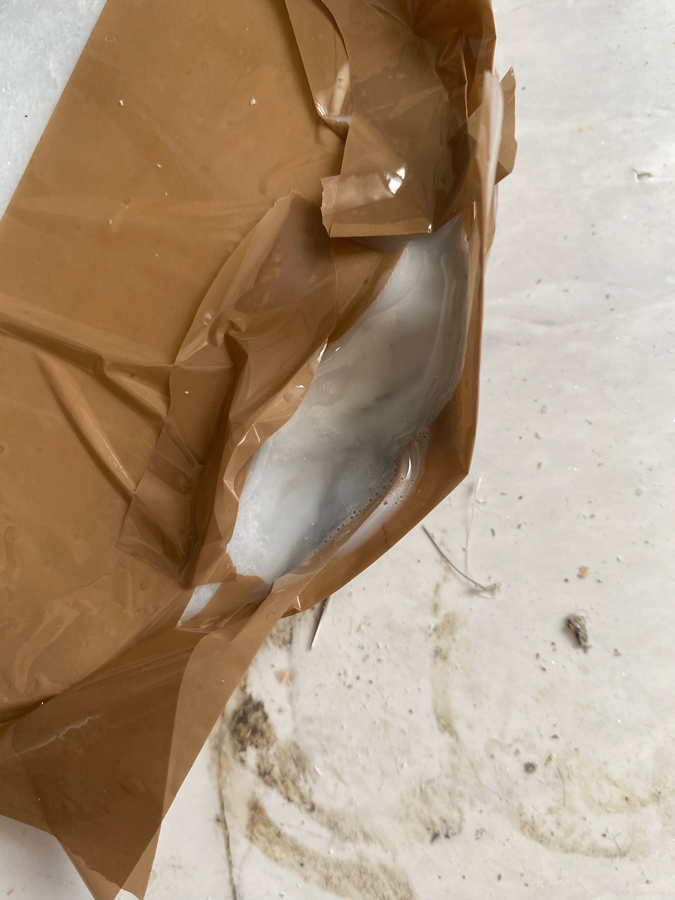
First, I created a barrier surrounding the area that I wanted filled with brown packing tape.
- After making sure the tape was free of bubbles and was thoroughly stuck down, I made up a pot of 2 part epoxy resin, which you can get almost anywhere online with a quick google search, but the product that I use I will leave a link to, here.
- Once that is thoroughly mixed, add in a couple of drops of suitably coloured acrylic ink (in this case, I chose a base colour of white) in to the mixing pot and gave it another stir. Pour this mixture in to the chipped out section of the base.
- With the left over resin mix, add in a few drops of grey and black colour to create a darker pigment. With a lolly pop stick coated in this darker resin, swirl a small amount within the white mixture that was just poured in to the chip.
- This is the fun part! You’ll need to get yourself a small amount of isopropyl alcohol for the next step and with this, we shall drip in a drop or so with a small instrument on the surface of the resin, which somehow repels the pigment and creates a ‘marble’ effect.
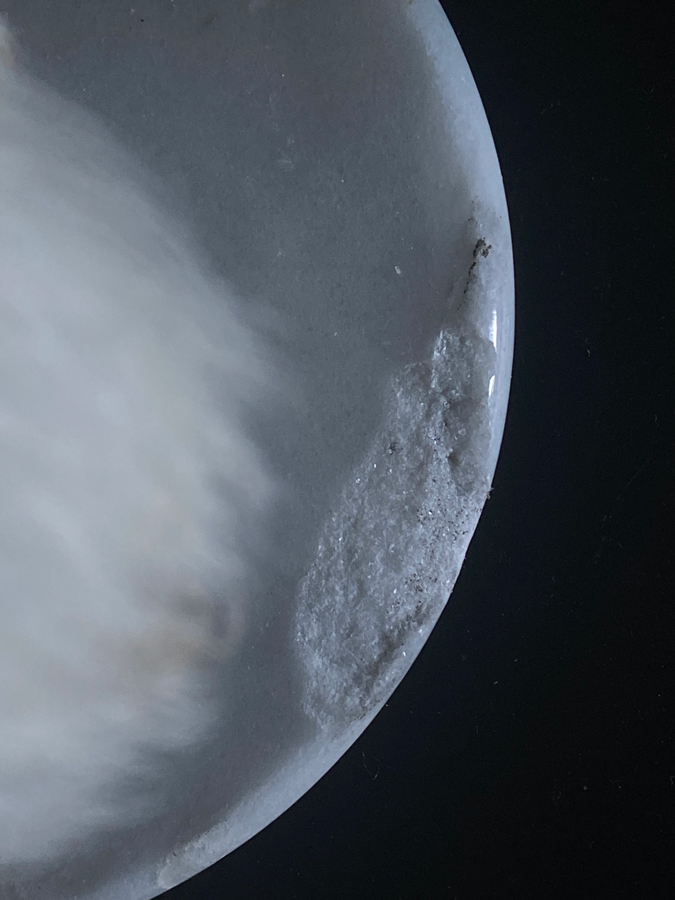
After you have waited 24hrs for it to cure (or however long your brand of resin takes to cure), remove the tape and sand the area to the desired shape.
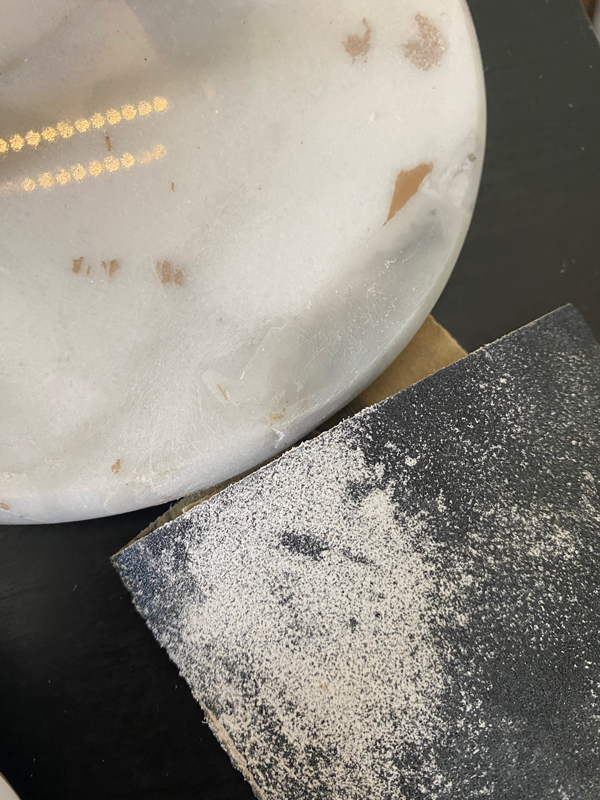
I started with an 120 grit wet/dry sandpaper to get the over all rough shape, then worked it right down to 3000 to get that shiney finish. This takes a long time and patience, so grab yourself a cup of tea before you get started!
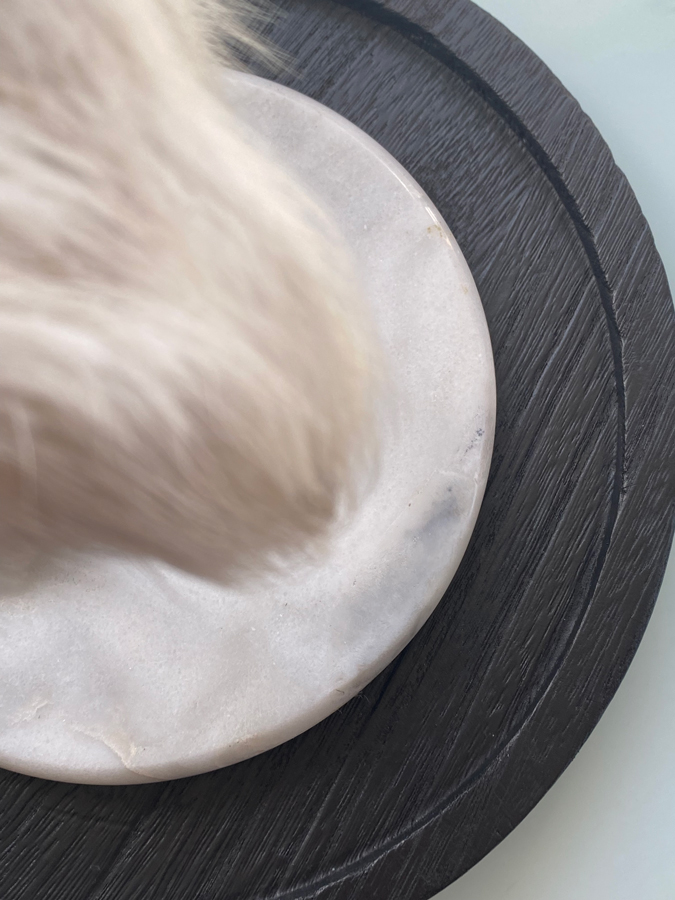
- I used a very small amount of oil paint to buff and blend out any areas that I think needed it and this created a result that I am very happy with!